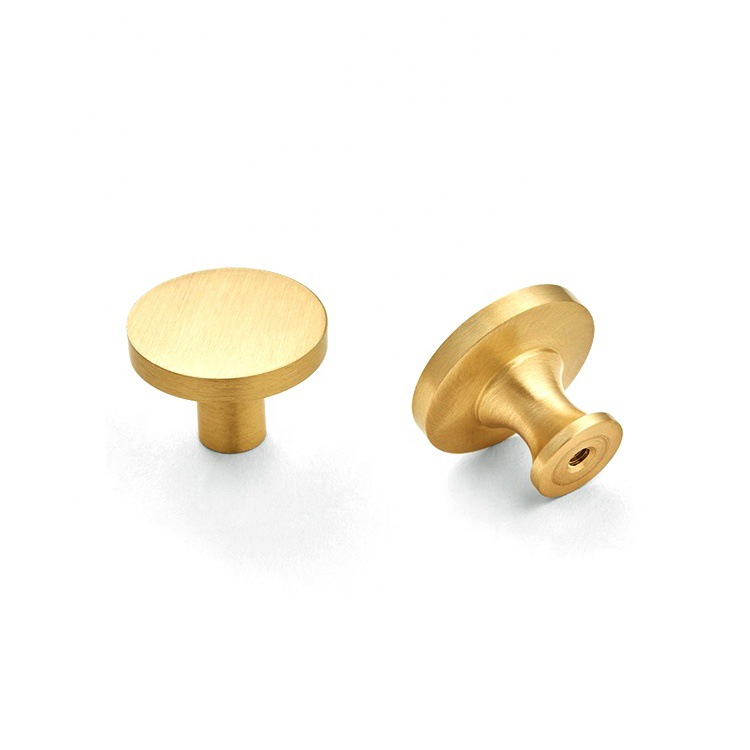
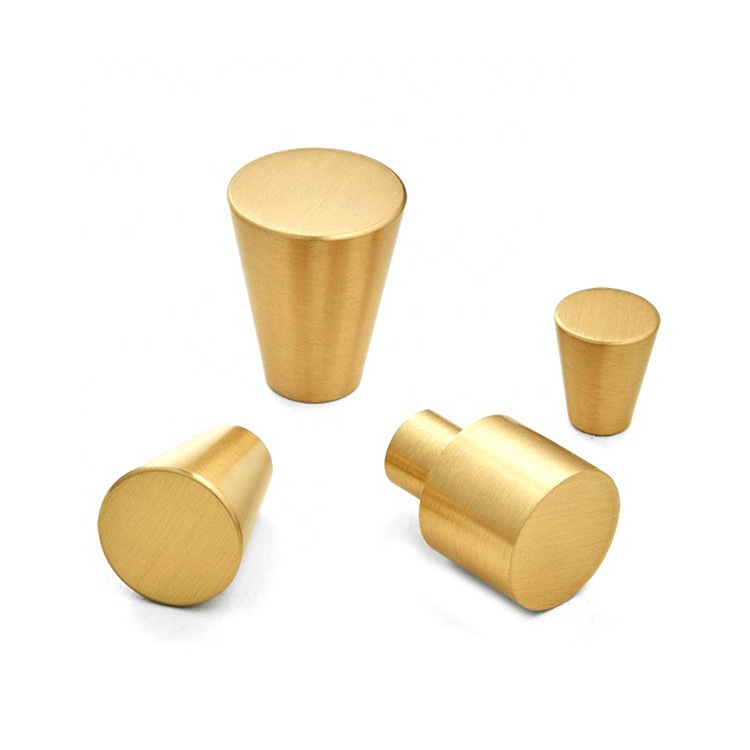
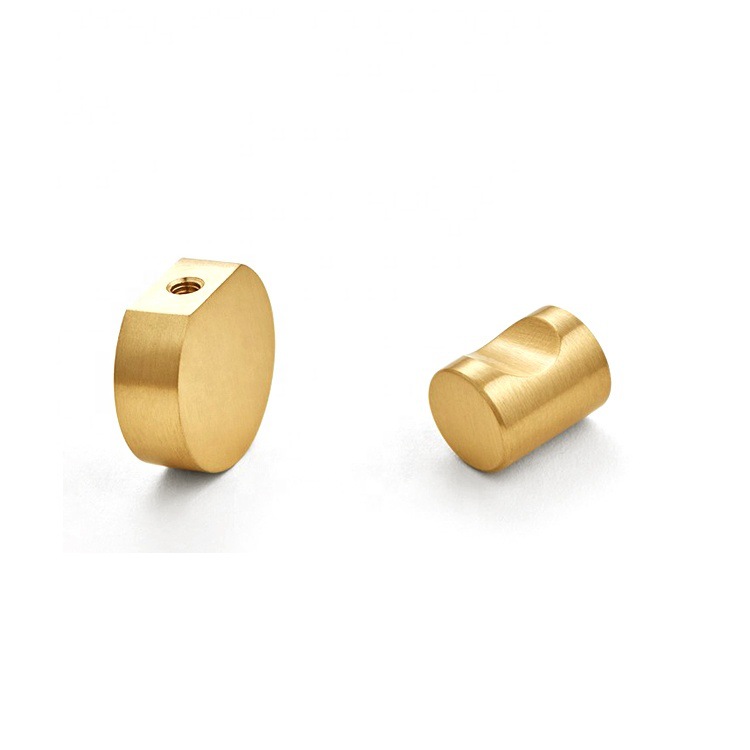
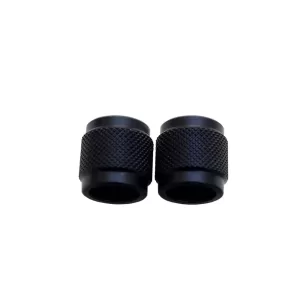
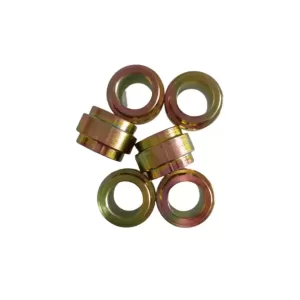
CNC turning brass wardrobe handles is an efficient and precise manufacturing method.
During the processing, the following aspects are crucial:
Programming design: According to the shape and size requirements of the handle, carefully write the CNC program to control the cutting movement of the machine tool.
Tool selection: Select the tool suitable for processing brass to ensure smooth cutting and good surface quality.
Cutting parameters: Reasonably set the cutting speed, feed rate and cutting depth to improve processing efficiency and ensure part quality.
The advantage of CNC turning is that it can produce wardrobe handles with complex shapes, high precision and good consistency. For example, handles with beautiful curves and delicate details can be processed to meet the diverse needs of furniture design.
In actual processing, some challenges may be encountered, such as the stickiness of brass materials may cause chips to wrap around the tool, and the chips need to be cleaned in time to ensure the continuity of processing.
In short, CNC turning provides a high-quality and efficient solution for the processing of brass wardrobe handles in furniture parts.
Innovative Design
As consumers’ demand for personalized and innovative furniture continues to increase, CNC turning technology provides more possibilities for the innovative design of furniture parts. By combining advanced design software and CNC turning processes, complex geometric shapes, unique textures and personalized patterns can be achieved. For example, CNC turning is used to process chair armrests with gradient diameters and twisted shapes, breaking the traditional design pattern and bringing a new visual and usage experience. At the same time, by combining with other manufacturing technologies such as 3D printing, more unique and complex furniture parts structures can be created.
Quality Control
Quality control is a key link in the production process of CNC turned furniture parts. During the processing, we will strictly test the dimensional accuracy, shape accuracy, surface roughness and material properties of the parts. Our commonly used testing tools include calipers, micrometers, roughness meters, etc. At the same time, high-precision measuring equipment such as three-coordinate measuring machines can also be used to conduct comprehensive inspections of parts with complex shapes.
In addition, through first-piece inspection, process sampling and finished product full inspection, we ensure that every part meets the quality standards. For unqualified parts, we analyze the reasons in a timely manner and take corrective measures to prevent the problem from recurring.
